Ever wonder how to make your property listings truly pop without the expense of a full-blown video crew? The answer is simpler than you might think: turning your high-quality still photos into a dynamic video tour. By skillfully animating your images with motion, music, and your branding, you can transform a standard photo gallery into an engaging walkthrough that grabs a buyer's attention.
Why Video Is Your Secret Weapon in Real Estate
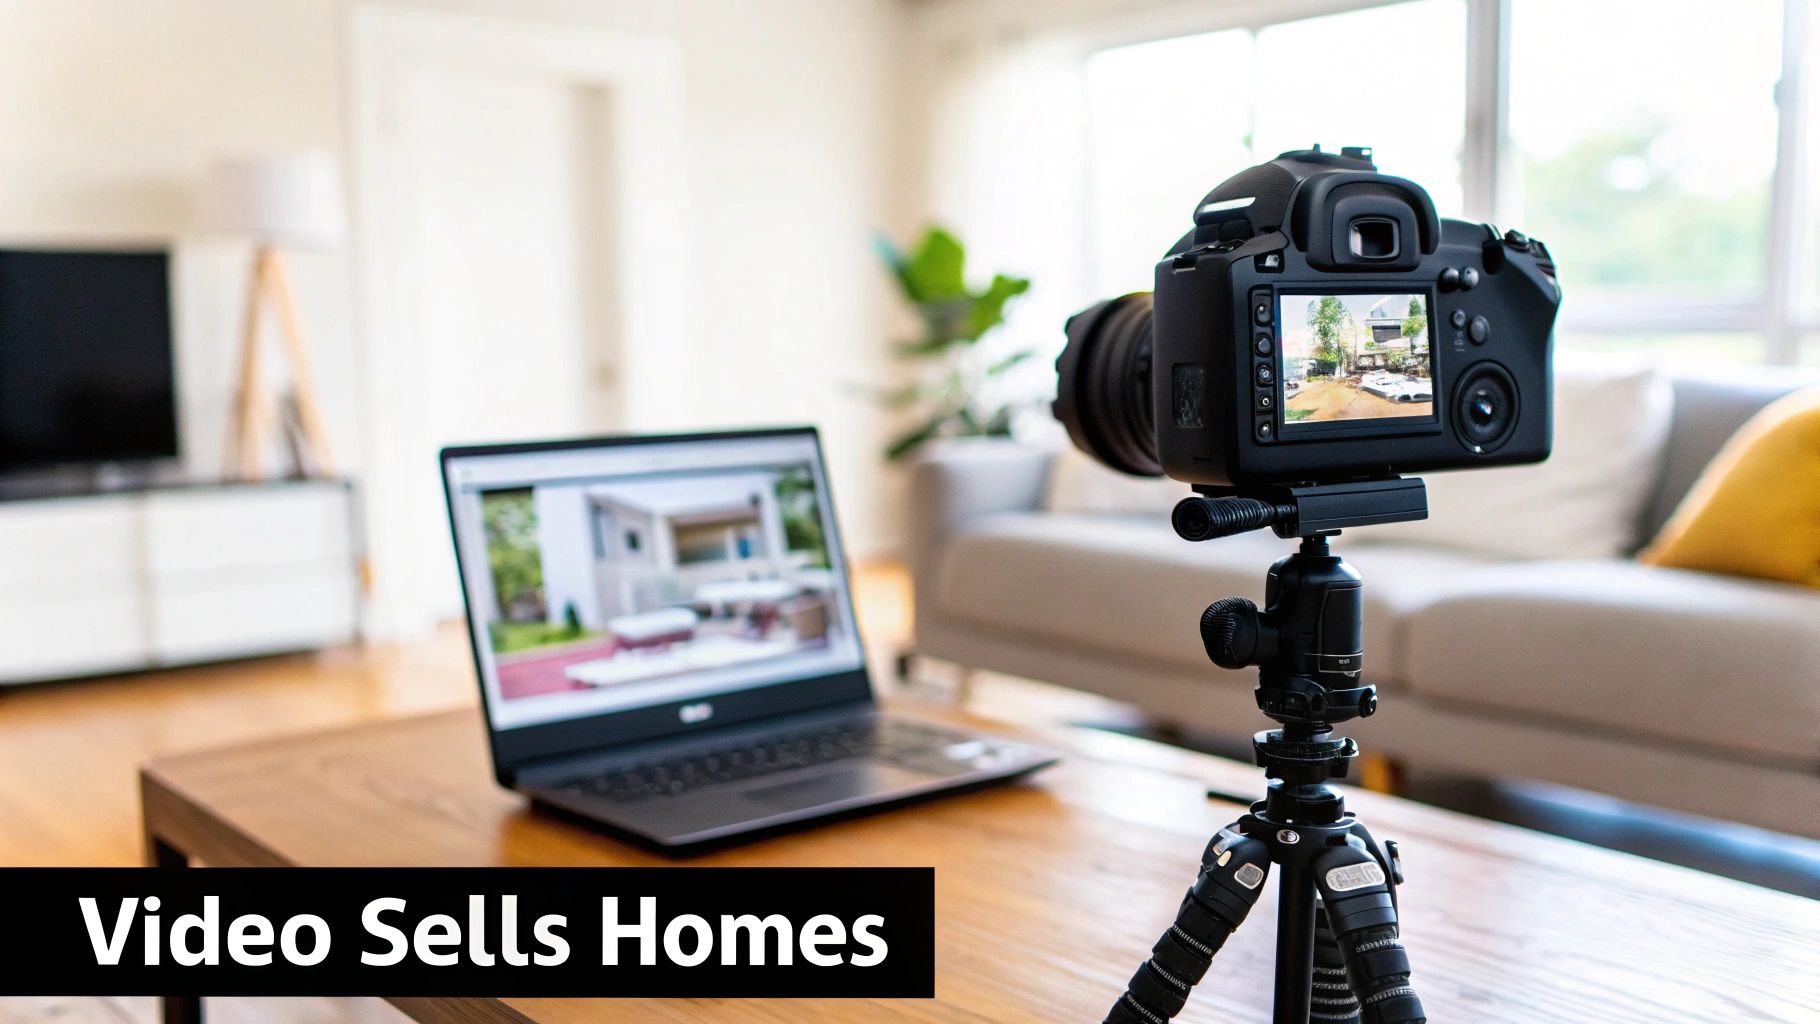
Let’s be clear: video isn’t just a nice little add-on anymore. For agents who want to win in today's market, polished real estate photography videos are essential. They're the perfect middle ground between a simple photo gallery and a pricey cinematic production, giving potential buyers an immersive feel for a home that static images just can't match.
Think of it as telling the home's story. Instead of making someone click through 25 separate pictures, you’re guiding them on a journey from the front door through the living spaces and out to the backyard. This creates a real emotional connection and helps buyers start picturing their own lives there.
The Impact on Buyer Engagement
The biggest win here is the massive jump in buyer engagement. A well-made video will hold a person's attention much longer than a photo gallery. You're keeping their eyes on your listing instead of letting them get bored and scroll away to your competitor’s. That extra time is crucial for making a lasting impression.
And the data doesn't lie. Industry reports consistently show the power of video in real estate marketing. In fact, listings with video get an incredible 403% more inquiries than those without. That’s a game-changer. You can find more details about real estate video marketing's dominance and see just how much it influences buyer behavior.
By creating a fluid narrative, you transform a set of images into a compelling sales tool. It's about showing how rooms connect and how a home truly feels, which is something a gallery of disconnected photos struggles to achieve.
Standing Out in a Crowded Market
In a market flooded with listings, you have to find a way to be different. A slick video tour immediately sets your listing—and your professional brand—apart. It shows you're an agent who goes the extra mile and invests in top-tier marketing to get your clients the best results. That reputation doesn't just sell the house you have now; it attracts the sellers you want to work with next.
A dynamic video also becomes a powerful asset you can share across social media, in email newsletters, and in digital ad campaigns.
To put it in perspective, let's look at how videos and photos stack up.
Video vs Photos A Quick Comparison
This table breaks down the key differences in how buyers experience video versus a standard photo gallery.
| Feature | Static Photos | Video from Photos |
|---|---|---|
| Engagement | Passive viewing, quick scrolls | Active viewing, higher retention |
| Storytelling | Limited to individual shots | Creates a cohesive narrative flow |
| Emotional Impact | Relies on single image quality | Builds atmosphere with music and motion |
| Social Media | Standard posts | Higher reach and shareability |
As you can see, video offers a much richer, more engaging experience.
Ultimately, adding video to your marketing strategy isn't just about showing off a property. It's about building a brand that promises—and delivers—a premium experience every single time.
Choosing and Preparing Your Photos for Video
Every great video starts with even better photos. You simply can't create a polished, captivating real estate photography video from blurry, poorly lit, or inconsistent images. Think of your photo library as the raw ingredients for a gourmet meal—the final dish is only as good as the stuff you start with.
This initial prep work is arguably the most critical part of the whole process. It's also what sellers expect. In fact, surveys now show that 85% of sellers want a video as part of their home's marketing, and a quarter of them specifically look for agents who offer it.
So, before you even think about stitching images together into a video, let's make sure you have a curated set of photos that tells a compelling story.
Start with High-Resolution Images
First things first: you absolutely must use high-resolution photos. When you add cinematic motion like pans and zooms, you're essentially "cropping in" on a part of the picture. If the original image is low-quality, that movement will instantly turn it into a pixelated, blurry mess. Your video will look cheap and amateurish.
Always, always start with the largest file size you get from your photographer. A good rule of thumb is to use images that are at least 1920 pixels wide for a standard HD (1080p) video. This gives you enough breathing room to add a bit of motion without losing that crisp, professional look. This is non-negotiable.
Curate a Balanced Selection of Shots
A great property video is a visual journey, not just a slideshow of nice rooms. To build that journey, you need to be intentional with your shot selection. Go through your photo library and pick a balanced mix from these three key categories:
- Wide Shots: These are your establishing shots—the front exterior, a sweeping view of the main living area, or the entire backyard. They set the scene and give buyers a sense of the home's scale and layout.
- Medium Shots: These shots zero in on a specific feature within a room. Think of the kitchen island and its pendant lights, a cozy fireplace nook, or a custom built-in bookshelf. They add context and detail.
- Detail Shots: These are the tight close-ups that scream "quality." This could be the elegant faucet hardware in the master bath, the beautiful grain of a hardwood floor, or the texture of a granite countertop. These little details are what create an emotional connection.
Mixing these shot types together makes the video far more dynamic and keeps the viewer engaged.
Make Sure Everything Is Visually Consistent
Okay, you've picked your best high-res shots. Now, you need to make them look like they belong together. In a video, jumping from a bright, airy photo to a dark, moody one is incredibly jarring. It completely breaks the flow and the immersive feeling you’re trying to create.
The goal is to make the transitions between photos feel seamless, almost like the camera is smoothly gliding from one space to the next. Consistency is what makes it feel high-end and professional.
You can use an editing program like Adobe Lightroom to make small, unifying adjustments. The two biggest things to focus on are white balance (the color temperature, so whites look white) and exposure (the overall brightness). You don’t need to be a photo editing wizard; a few minor tweaks here will make a massive difference.
For a deeper dive into this, check out our guide on essential real estate photography tips.
Do a Final Polish and Clean-Up
The last step before you're ready to build the video is a final clean-up pass on your photos. This is your chance to remove any tiny distractions that might pull a viewer's eye away from what you're trying to showcase.
Scan each photo for things like:
- A stray power cord in the corner
- Smudges on a window or stainless steel appliance
- A distracting reflection in a mirror
Most editing software has a "spot removal" or "clone stamp" tool that makes these fixes quick and easy. Spending an extra five minutes on this adds a huge layer of polish to your final real estate photography videos. By doing this prep work upfront, you're setting yourself up for a much smoother video creation process and a final product that truly wows.
Building a Narrative for Your Property Tour
A great listing video does more than just show off a few rooms—it tells a story. It should feel like you're guiding a potential buyer on a personal tour, helping them imagine their life in that space long before they book a showing. We're not just making a slideshow here; we're crafting a visual narrative that sells a lifestyle.
The trick is to think like a filmmaker. Your photos need a logical and emotionally compelling flow. A jumbled collection of images, no matter how stunning they are, just feels confusing and disconnected. A well-planned sequence, on the other hand, creates a sense of discovery and makes the property feel like a complete, inviting home.
Planning Your Video's Flow and Sequence
The best property tours follow the natural path someone would take when walking through a home for the first time. You want to create a sense of arrival, let them explore the main living spaces, and then end on a high note. Think about moving from the outside in, with smooth transitions between connected rooms.
I've found a particular sequence works wonders for almost any property:
- The Approach: Always start with a killer exterior shot. This is your "establishing shot," the one that sets the stage. A beautiful front facade at dusk, a charming porch, or a grand entryway are all great options.
- The Welcome: From there, move inside to the foyer or main entrance. This transition should feel like you're literally stepping over the threshold.
- The Heart of the Home: Next, guide the viewer into the core living areas—the living room, dining room, and kitchen. These are the spaces where families connect and spend most of their time.
- Private Sanctuaries: After establishing the main social hubs, transition to the private spaces like the primary bedroom and its ensuite bathroom. Showing these areas after the living quarters makes the tour feel more intimate.
- Bonus Spaces and Features: Now's the time to show off the unique selling points. Got a great home office, a finished basement, or a cozy sunroom? Slot those in here.
- The Grand Finale: End your tour outside in the backyard or on a scenic patio. This final sequence should leave a lasting impression of relaxation and enjoyment—the perfect closing scene.
This simple workflow helps you get your photos organized into a cohesive story before you even touch any video software.
The diagram below really breaks down the basic stages of getting your photos prepped and ready for this narrative-building process.
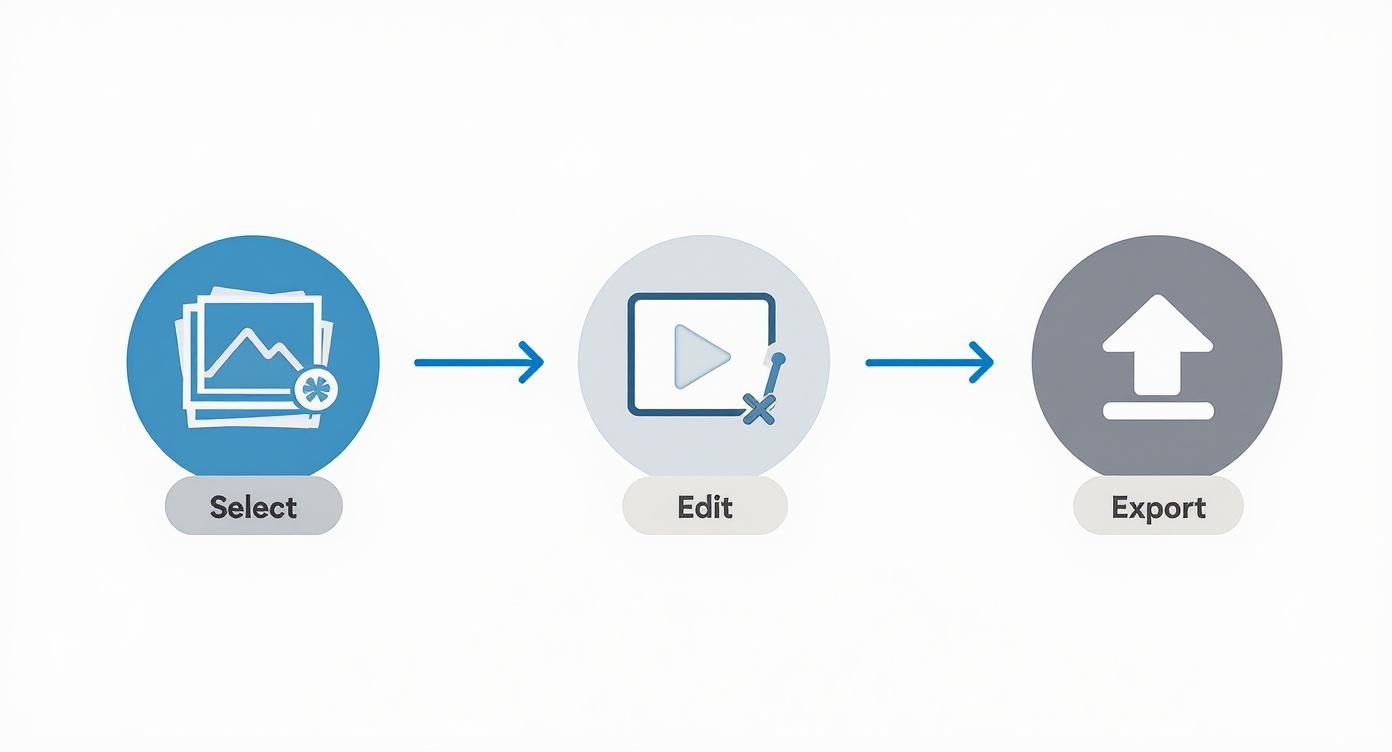
It’s a good reminder that creating a compelling video is a deliberate process of selecting, refining, and then assembling your best assets.
Breathing Life into Static Images with Cinematic Motion
Once you've got your photo sequence locked in, it's time to add subtle motion. This is the magic step that turns a collection of stills into a dynamic, engaging video. Without it, you've just got a slideshow with some background music. With it, you create a much more immersive experience.
The go-to technique here is the Ken Burns effect. Named after the famous documentarian, this effect involves slowly panning across and zooming into or out of a static image.
The Ken Burns effect is your secret weapon. It creates a sense of movement and dimension, drawing the viewer's eye to key features within each frame. The key is to keep the motion slow, subtle, and intentional—never fast or jarring.
Here are a few ways I like to apply it:
- Start with a Zoom Out: On your opening exterior shot, a slow zoom out can create a grand, welcoming reveal of the property.
- Pan Across a Room: For wide shots of the living room or kitchen, a slow horizontal pan from left to right mimics how your head would naturally turn to take in the space.
- Push In on Details: When you want to highlight a specific feature, like a gorgeous fireplace or high-end kitchen appliances, use a slow zoom in. This directs the viewer's attention and signals that this detail is important.
The goal is to vary the motion from one shot to the next to keep things visually interesting. For a deeper dive into how all these techniques come together, check out our guide on creating a compelling real estate video walkthrough.
Creating Smooth and Professional Transitions
How you move from one photo to the next is just as critical as the motion within each shot. The right transitions make your video feel like one continuous tour instead of a choppy sequence of images. The wrong ones, frankly, can make your video look cheap and amateur.
The golden rule is to keep it simple. Seriously, avoid the star wipes, page curls, and any other flashy effects that scream "early 2000s PowerPoint."
Just stick to these two clean, professional options:
- Cross Dissolve: This is the workhorse of real estate video. It gently fades one image out while the next fades in, creating a soft, dreamlike transition that’s easy on the eyes. It's perfect for moving between different rooms.
- Straight Cut: A simple, instant cut from one shot to another can be very effective when used sparingly. It works best when you're moving between a wide shot and a detail shot within the same room—like cutting from a wide view of the kitchen to a close-up of the granite countertop.
By thoughtfully sequencing your photos, adding subtle cinematic motion, and using clean transitions, you build a narrative that is both professional and emotionally powerful. This is how you transform a simple set of photos into one of your most effective marketing tools.
Adding Music, Branding, and a Call to Action
https://www.youtube.com/embed/HhTw2pjgulo
Alright, you’ve got the photos sequenced and the cinematic motion is looking smooth. Now it's time for the final touches—the details that take a simple slideshow and turn it into a powerful, lead-generating marketing tool.
This is where we add the soundtrack, your personal branding, and a clear call to action. These elements are what make your real estate photography videos feel professional and compelling, leaving a lasting impression on potential buyers.
Choosing the Perfect Soundtrack
Music is what gives your video a soul. It sets the pace, creates a mood, and keeps viewers engaged. The trick is to pick a track that complements the property's unique personality without overpowering the visuals.
Think about the home you’re showcasing. A sleek, modern downtown loft? It might pair perfectly with an upbeat, energetic electronic track. A historic colonial with tons of character? An elegant, classical piece would feel much more appropriate. You’re not just selling a house; you’re selling a lifestyle, and the music should reflect that.
One crucial tip: always use royalty-free music. Grabbing a popular song off the radio is a fast track to getting your video flagged or taken down from sites like YouTube, and it can even land you in legal hot water. Services like Epidemic Sound or Artlist have massive libraries of high-quality music for a small subscription fee, so you never have to worry.
Here are a few pointers from my experience:
- Stick to Instrumentals: Lyrics are distracting. They pull attention away from what you’re trying to show. Instrumental tracks keep the focus squarely on the home.
- Know Your Audience: Who is the likely buyer? A young family? A luxury investor? Pick music that will resonate with them.
- Listen for the Flow: The best tracks for video have a natural arc—a subtle build-up, a steady middle, and a clean finish. This helps your video feel like a complete story.
Weaving in Your Brand Identity
Remember, your video isn't just selling a property—it's selling you. Subtle, consistent branding builds recognition and reinforces your image as a go-to professional. The key is to be present, not pushy.
Your branding should feel like a natural part of the video, not a disruptive commercial. A clean logo and contact details at the beginning and end are often all you need to make a lasting impression.
I always start my videos with a simple intro screen, or "bumper," that shows my logo, name, and brokerage. It only needs to be on screen for about three to five seconds to establish who's presenting the property.
Then, at the very end, I include a clear "outro" screen with my headshot, phone number, email, and website. This gives interested buyers everything they need to take the next step. Many tools, including AgentPulse, let you upload your branding once and will automatically add it to every video you create. It’s a huge time-saver.
Crafting a Compelling Call to Action
A beautiful video is nice, but if it doesn't tell viewers what to do next, it's just a pretty slideshow. You have to guide them. A clear call to action (CTA) is what turns a passive viewer into an active lead.
Don't be shy here. Your CTA is the single most important part of converting interest into an actual conversation. It needs to be direct, compelling, and incredibly easy to follow.
First, decide on the main goal for your video. Do you want people to schedule a tour? Visit the listing page for more details? Or simply call you? Once you know the goal, you can write the CTA.
A few effective CTAs I've used:
- "Ready to see this home in person? Call or text to schedule your private tour."
- "For more photos, details, and a 3D tour, visit [YourWebsite.com/123-main-st]."
- "Don't let this one get away. Contact me today to make it yours."
Add this text as an overlay on your final outro screen, right next to your contact info. When you combine great music, clean branding, and a direct CTA, your real estate photography videos become complete marketing packages designed to capture attention and grow your business.
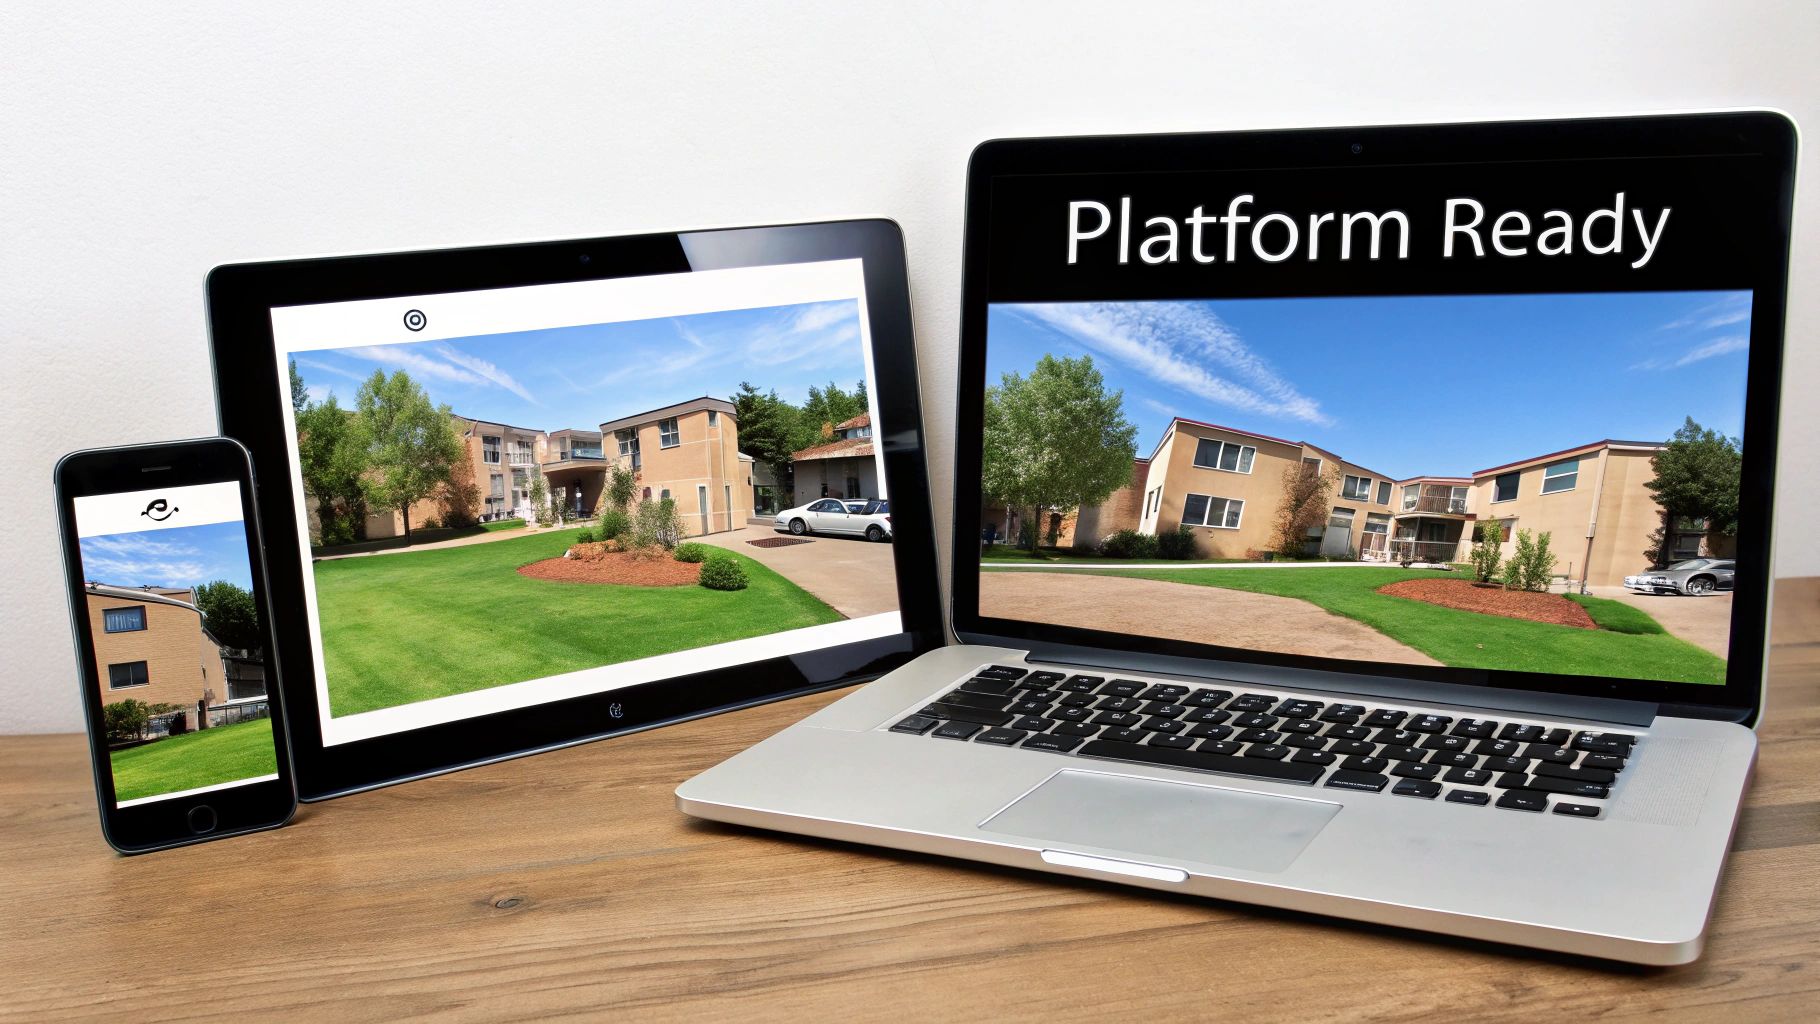
Getting Your Video Ready for MLS and Social Media
You’ve created a fantastic video tour—that's a huge win. But if it looks weirdly cropped on Instagram or takes forever to load on the MLS, all that hard work goes to waste. The final, and arguably most important, step is exporting your video correctly for every single place you plan to post it.
This isn't just about getting the tech specs right; it's about showing up professionally where your buyers are. A great video can be a deal-maker. In fact, an incredible 63% of homebuyers have made an offer on a property they've only seen through photos and videos. Your video isn't just a nice-to-have; it's often the first and only tour a potential buyer takes.
Why One Size Doesn't Fit All: Aspect Ratios
The single biggest mistake I see agents make is trying to use the same video file everywhere. The key is the aspect ratio—basically, the shape of your video.
Think about it: a wide, cinematic video that looks great on a desktop MLS listing is going to get its sides chopped off in a vertical Instagram Story. You'll lose half the room you were trying to show off!
Here’s a simple breakdown of what to use where:
- 16:9 (Widescreen): This is your go-to for YouTube, Vimeo, and most MLS platforms. It’s the traditional landscape view that fills a computer screen or TV.
- 9:16 (Vertical): Absolutely essential for Instagram Stories, Reels, and TikTok. It fills a phone screen, creating a much more engaging experience for mobile viewers.
- 1:1 (Square): A proven winner for the main feeds on Instagram and Facebook. As people scroll, a square video takes up more vertical space on their screen than a widescreen one, making it harder to ignore.
My pro tip? Always plan to export multiple versions of your video from the start. A tool like AgentPulse is a lifesaver here—it lets you create all the different aspect ratios you need from the same project in just a few clicks. It ensures your video looks custom-made for every platform.
Nailing the Resolution and File Type
Once you have the shape right, you need to think about quality and file size.
For resolution, stick with 1080p (1920x1080 pixels). It's the sweet spot. You get a crisp, clear HD video that looks professional on any screen, but the file isn't so massive that it becomes a nightmare to upload or for viewers to stream.
As for the file format, this one's easy: MP4 is king. It’s the universal standard that works everywhere, from your website to every social media app, offering great quality without hogging storage space.
Video Export Settings Cheat Sheet
To pull this all together, I’ve put together a quick cheat sheet. Keep this handy when you’re exporting your real estate photography videos, and you’ll avoid those frustrating upload errors and make sure your listing always looks its best.
| Platform | Recommended Aspect Ratio | Recommended Resolution | Notes |
|---|---|---|---|
| MLS & Zillow | 16:9 | 1080p | This is your primary video for motivated buyers. Keep it professional. |
| YouTube | 16:9 | 1080p | Perfect for a permanent home on your channel that you can share anytime. |
| Instagram Feed | 1:1 or 4:5 | 1080p | Designed to grab attention and stop the scroll on the main feed. |
| Instagram Stories | 9:16 | 1080p | Ideal for quick, behind-the-scenes vertical tours and daily updates. |
| Facebook Feed | 1:1 or 4:5 | 1080p | Works great for sharing in community groups and for running targeted ads. |
Taking a few extra minutes to export a tailored version for each platform is a small effort that pays off big time. It makes you look more polished and ensures your video has the maximum impact.
If you’re looking for more ways to fit these videos into your overall strategy, check out our guide on digital marketing for real estate agents.
Common Questions About Real Estate Videos
Even with the best plan, you're bound to have questions when you start turning photos into videos. Getting bogged down in the small stuff is a real momentum killer, so let's clear up some of the most common hurdles agents run into. I want to give you direct, practical answers so you can keep moving forward with confidence.
These are the things people ask me all the time, whether they've been in the business for 20 years or are just dipping their toes into video marketing. Getting these answers straight from the start will make your whole process smoother.
How Long Should My Real Estate Video Be?
This is the classic balancing act. You need to show off the home’s best features without making your viewers' eyes glaze over.
For your main video on the MLS or YouTube, I've found the sweet spot is somewhere between 90 seconds and 3 minutes. That’s usually enough time for a really solid virtual tour.
But for social media, you have to think differently. Shorter is always better. A high-energy, 60-second version is perfect for an Instagram Reel, and a quick 30-second clip can work wonders as a targeted ad.
The goal isn't to show everything; it's to be compelling. You want viewers to feel impressed and excited to see the home in person, not bored and scrolling on to the next thing.
Can I Use Smartphone Photos for a Professional Video?
Let's be real: professional photos taken with a DSLR camera will always give you the cleanest look. But the cameras on today's smartphones are incredibly good. So yes, you can absolutely create a polished video from phone pictures, but you have to be smart about it.
Quality and consistency are everything here. If you're going the smartphone route, make sure you nail these basics:
- The lighting needs to be great and look the same from one shot to the next.
- Every single image must be sharp and perfectly in focus. No exceptions.
- Shoot in the highest resolution your phone offers.
Honestly, a cheap tripod is your best friend for phone photography. It gets rid of camera shake and helps you keep your angles consistent. When you sequence high-quality phone shots with the right kind of smooth, subtle motion, the results can be surprisingly stunning.
What Are the Biggest Mistakes to Avoid?
Knowing what not to do is half the battle. I've seen a few common mistakes that can instantly make a potentially great video look amateur.
The absolute biggest error is using low-resolution photos. The moment you add any motion, they look pixelated and awful. Another big one is choosing music that’s either distracting or just doesn't fit the vibe of the house. And please, don't make your video too long!
A major miss I see all the time is forgetting a clear call to action. You've got their attention—now tell them what to do next! Is it "Call me for a showing" or "Visit the link in bio for more details"?
Also, go easy on the transitions and motion effects. Wild, fast-paced pans and crazy wipes just feel jarring. You're aiming for an elegant, smooth flow that lets a buyer really take in the space. And my final tip: always, always double-check that your name, brokerage, and contact info are clearly visible at the end.
Ready to create scroll-stopping videos from your photos in minutes? AgentPulse uses AI to automatically add cinematic motion to your images, delivering platform-ready videos for MLS and social media. Skip the complicated software and expensive editors—try AgentPulse today and see how easy it is to elevate your listings.