A video walkthrough does something photos just can't: it turns a flat, static listing into a cinematic tour that pulls a potential buyer right through the front door. It’s a marketing powerhouse that captures the genuine flow and feeling of a home, going way beyond what a simple picture gallery can ever do.
Why Video Walkthroughs Are Winning in Today's Market
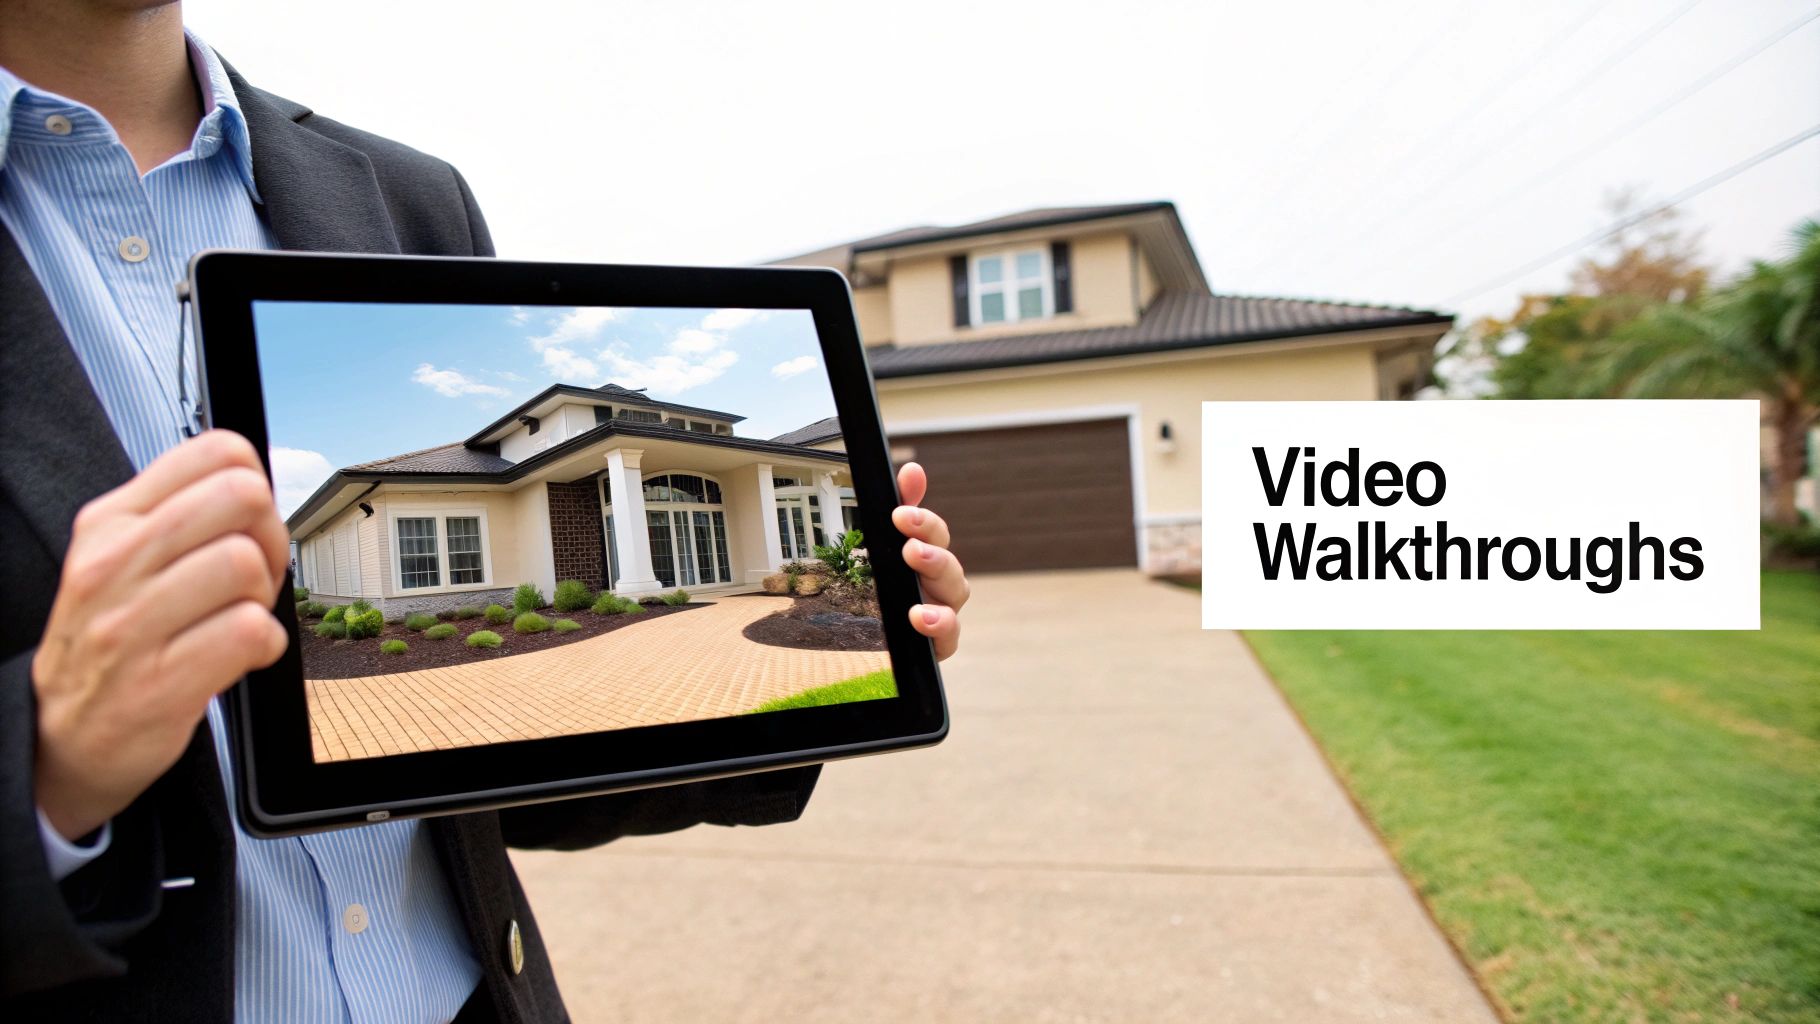
Let's be real—a gallery of still photos just doesn't cut it anymore. Today's buyers expect dynamic, engaging content that lets them truly experience a property without leaving their couch. For any agent looking to stay ahead, a compelling video walkthrough real estate tour has become an essential piece of the marketing puzzle.
This isn't just about keeping up with trends; it's about a fundamental shift in how people shop for homes. They want convenience, and they want details. Before they ever commit to an in-person visit, buyers want to understand the layout, see how the rooms connect, and get a real feel for the space. This is a massive time-saver for everyone involved.
The Power of Immersive Experiences
The numbers don't lie. In a crowded market, video walkthroughs give listings a serious edge, driving more inquiries and speeding up sales. In fact, listings with video get a massive 403% more inquiries than those with just photos. You can read the full research about these real estate video findings for yourself, but that statistic alone shows just how much buyers value this kind of content.
When a potential buyer can virtually "walk" through a home, they start to build an emotional connection. They can picture their furniture in the living room or imagine cooking in the kitchen, which makes them far more likely to book a showing.
Here's a quick comparison of key performance metrics that shows the clear advantages of using video content in your listings.
Video Walkthroughs vs Static Photos
| Metric | Listings with Static Photos Only | Listings with Video Walkthroughs |
|---|---|---|
| Buyer Inquiries | Baseline | 403% increase |
| Time on Listing Page | Lower (average seconds) | Significantly higher (average minutes) |
| Lead Quality | Varies widely | Generally higher, more pre-qualified |
| Emotional Connection | Limited | Stronger, more immersive |
| Social Media Shares | Low | High (video is highly shareable) |
As you can see, the data clearly supports making the switch. Video not only grabs attention but holds it, resulting in better leads and a faster sales process.
A Smarter Way to Create Videos
The best part? You don't need to hire a film crew or buy expensive gear to get these kinds of results. I'm going to walk you through how to create professional-looking videos using the listing photos you already have. With a simple AI-powered workflow, you can give yourself a major competitive advantage without breaking the bank.
This approach brings some huge benefits to the table:
- It's Incredibly Cost-Effective: Forget about paying videographers. You'll save thousands in production costs on every single listing.
- You'll Save a Ton of Time: You can create a polished, ready-to-go video in just a few minutes, not days. This means your marketing goes live faster.
- It Keeps Your Brand Consistent: Easily add your logo, contact details, and a signature music track to build a recognizable brand across all your properties.
Getting Your Photos Ready for a Cinematic Video
The final quality of your real estate video tour is decided long before you ever touch a piece of software. It all starts with the photos. Think of it like cooking—the better the ingredients, the better the final dish. That old saying, "garbage in, garbage out," is especially true here. A little prep work is all it takes to create a video that looks and feels premium.
Your first priority has to be image quality. Always, always start with high-resolution photos, ideally the original, uncompressed files directly from your photographer. If you use low-res or grainy images, they'll just look blurry and pixelated once motion is added, which immediately makes the whole video feel cheap.
Choosing the Right Shots
Putting together the right set of photos is really about telling a story. You're trying to guide a potential buyer through the home just like you would on an in-person tour. Don't just throw a random jumble of pictures together; create a logical flow that builds a little excitement and helps them understand the layout.
A sequence that always works well for me goes something like this:
- Start Outside: Kick things off with 2-3 of your best exterior shots. Show off that curb appeal or the welcoming front entryway.
- Move to the Main Hub: Head inside to the living room, dining area, and kitchen. These are the spaces where people imagine their lives, so use your absolute best shots here.
- Show the Private Spaces: From there, continue to the primary bedroom and bath, then the other bedrooms.
- Highlight the Extras: Got a great home office, a finished basement, or a cozy fireplace? Now's the time to show off those unique selling points.
- End with the Outdoors: Finish the tour in the backyard, on the patio, or on a balcony. You want to leave them with a great final impression.
Following a narrative like this helps buyers mentally map out the home and really picture themselves living there. If you want to get this right from the very beginning, our guide on essential real estate photography tips is a great resource.
Keeping Everything Visually Consistent
This is a big one: you absolutely need visual consistency across all your photos. If the video jumps between images with totally different lighting or color tones, it’s jarring for the viewer. Imagine going from a photo of a warm, sun-drenched living room straight to a cool, dimly lit bedroom—it just feels disconnected.
The real goal here is to make the transitions between photos feel so smooth it's like a single camera is just gliding through the home. The only way to pull that off is with consistent lighting and a unified editing style.
Before you upload anything, just do a quick side-by-side comparison of your chosen photos. Do they all have a similar brightness and color temperature? If you spot one that's way darker or has a weird color cast, you have two choices: either edit it to match the rest or swap it for a different photo. It seems like a small detail, but this single step is what elevates a basic slideshow into a polished and immersive video walkthrough real estate professionals can be proud of.
Bringing Your Photos to Life with AI Motion
Okay, you’ve picked out and arranged your best photos. Now for the fun part: turning that static collection into a dynamic, flowing video walkthrough that feels like you're actually there.
This is where technology really shines for busy agents. Forget wrestling with clunky, complicated video editing software. The right AI tool takes on all the heavy lifting, creating a professional-looking video walkthrough in a matter of minutes, not hours.
The whole concept is brilliantly simple. You feed the system your photos, and its intelligent engine analyzes each one to understand the space. Tools like AgentPulse use a 3D-aware engine that identifies walls, windows, and furniture to map out realistic camera movements. It automatically generates smooth pans, gentle zooms, and elegant reveals that give your photos a sense of depth and life that a basic slideshow could never achieve.
Before you jump in, just remember the simple three-step prep process we covered.
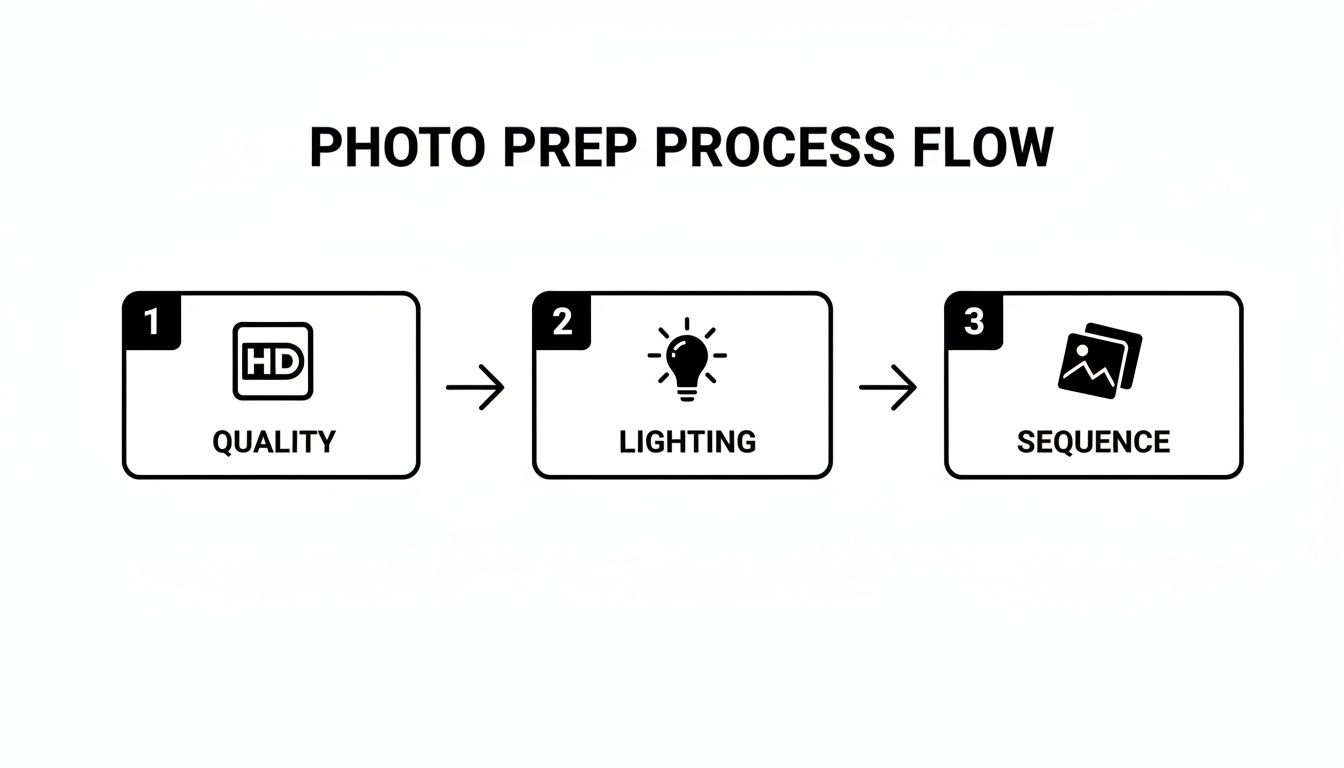
Giving the AI clean, well-lit, and logically ordered photos is the secret to getting that buttery-smooth, high-quality motion you're looking for.
Turning a Plan into a Polished Video
So, what does this look like in practice? Let's say you're listing a three-bedroom family home. You've handpicked 20 fantastic, high-res photos that tell the home's story—from the welcoming front porch, through the sunny living room, into the kitchen, bedrooms, and ending on the beautiful backyard deck.
Instead of blocking out a whole day for a video shoot or losing weeks to a steep software learning curve, you just upload your photo sequence to the AI platform. From there, it’s incredibly straightforward.
- Upload Your Photos: Just drag and drop your curated image sequence right into the project.
- Choose a Vibe: You can often tweak the motion style. For this family home, you might select slow, graceful pans for the main living areas and maybe some subtle zooms to highlight the new stainless steel appliances in the kitchen.
- Let the AI Do Its Thing: The system then gets to work, generating cinematic camera paths for every single photo and stitching them together with seamless transitions.
The transitions are where the real magic happens. A good AI tool doesn't just cut or fade between images. It creates the illusion that the camera is moving from one spot to the next, making the entire tour feel connected and totally immersive.
This gets you a top-tier video tour without ever picking up a camera or touching a complex editing timeline. If you're curious about the tech behind it, you can learn more about how AI is shaping real estate videos and opening up new possibilities for agents everywhere.
From Photos to Preview in Minutes
One of the best parts is how fast this all happens. For that 20-photo project we talked about, a platform like AgentPulse will usually have a full preview ready for you in just two to five minutes.
You can watch it back immediately. If a particular camera movement feels a bit off, you can often regenerate it or adjust a setting without having to start over. This kind of speed and flexibility is a total game-changer, letting you create powerful marketing assets for every single listing, right when you need them.
Adding Polish and Branding to Your Video Tour
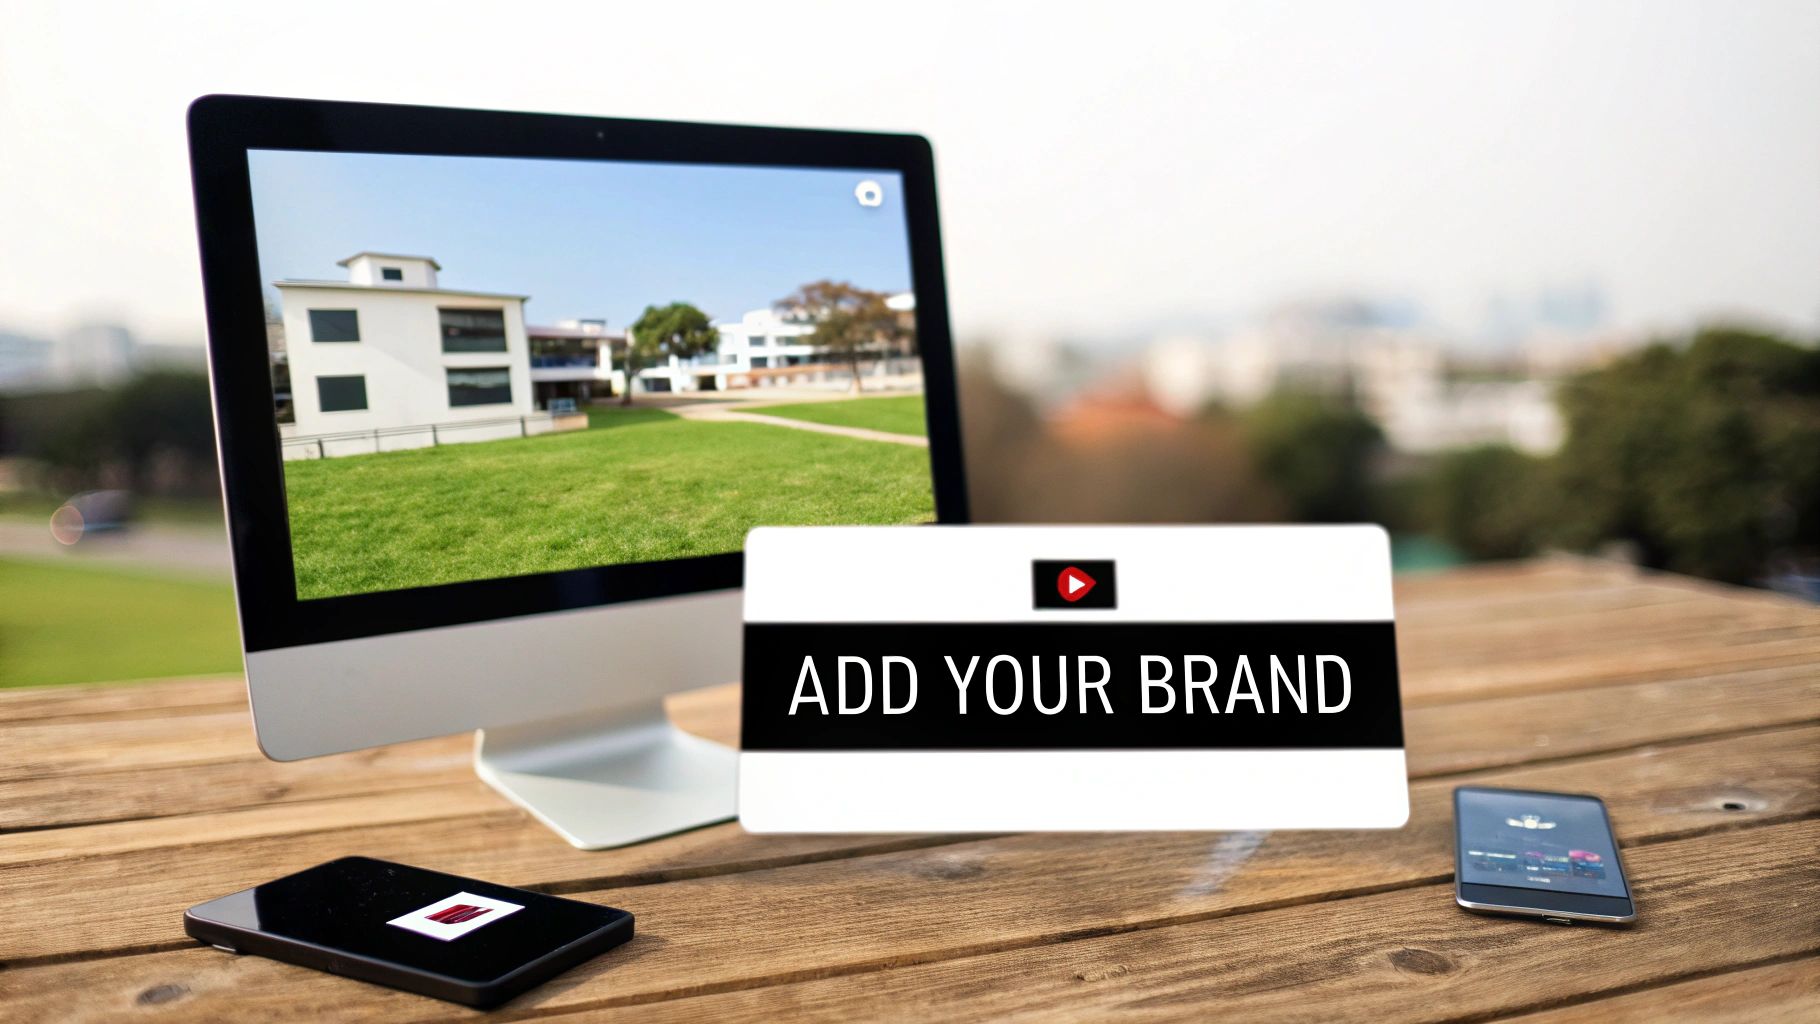
Getting that AI-generated video with cinematic motion is a huge first step, but the final touches are what really make it shine. This is where you transform a simple property showcase into a powerful marketing piece that works for both the listing and your own brand.
Think of these finishing elements—music, text, and your branding—as the professional polish that elevates the entire experience. It's the difference between a generic tour and a signature video walkthrough real estate asset that cements your reputation with every view.
Setting the Mood with Music
The right background track does so much more than fill silence. It creates an emotional connection, helping buyers feel what it's like to be in the home. I see too many agents slap the same generic, upbeat tune on every single video. That’s a missed opportunity. You've got to match the music to the property's personality.
- Sleek, Modern Condo? Go for something ambient and minimalist. An electronic track can feel clean and sophisticated.
- Cozy Family Home? Try a light acoustic or indie-folk song. It just feels warm, inviting, and friendly.
- Luxury Estate? This is where classical or a cinematic orchestral piece works wonders, adding a real sense of elegance and prestige.
Most video tools have built-in libraries of royalty-free music, so you don't have to worry about copyright strikes. Take a couple of extra minutes to find the right track. It can completely change a viewer’s perception of the space.
Your video walkthrough is more than a tour; it’s a marketing asset. Every element, from the music to the font, should be a deliberate choice that reflects the property’s value and your professional brand.
Highlighting Features with Text Overlays
Text overlays are your secret weapon. They let you guide the viewer's eye and make sure they don’t miss the best features. Don't just hope they notice the new appliances or the custom tile—point it out! Just keep the text clean, brief, and easy to read.
A simple, elegant text pop-up can call out key selling points they might otherwise miss. Imagine the video panning across a beautiful kitchen, and a small overlay appears with:
- "Newly Renovated Chef's Kitchen"
- "Quartz Countertops & Custom Cabinetry"
- "Private Balcony with City Views"
- "Oversized Primary Suite"
Pick a modern, sans-serif font that’s easy to read on a phone. It looks clean and professional. These small details add a layer of polish and make sure you’re communicating the home's full value.
Adding Your Professional Stamp
And finally, this part is non-negotiable: every video needs your branding. Each view is a chance to build your brand and stay top-of-mind. In most video editors, adding these elements is a simple drag-and-drop process.
You absolutely need to include:
- Your Logo: Place it subtly in a corner of the screen so it’s visible throughout the video.
- An Outro Slate: Always end with a clean closing screen. It should have your name, brokerage, phone number, and website.
This consistent branding ensures that no matter where your video gets shared—from the MLS to a friend’s Facebook feed—your contact info is right there. For a deeper dive into these final steps, our complete guide to video editing for real estate agents has some great advanced tips.
Getting Eyes on Your Video: Where to Share It for Maximum Impact
Alright, you’ve created a stunning video walkthrough. That’s a huge step, but the work isn't quite done. A brilliant video that no one sees isn't going to help you sell the property. Now comes the crucial part: getting that polished video in front of as many qualified buyers as possible.
This isn’t about just blasting it everywhere. You need a smart, multi-channel game plan. Each platform has its own audience and its own rules, so a copy-paste approach will fall flat. Your first stop should always be where the most serious buyers are already searching.
Nail the Essentials: Your Core Real Estate Platforms
Before you even touch social media, get your video loaded onto the primary real estate sites. This is where your highest-intent audience lives, so getting this right is non-negotiable.
- The MLS: This is your top priority. Most MLS systems now let you upload a video file or link directly. Always use the highest quality version they allow, because this is the feed that gets pushed out to hundreds of other real estate websites.
- Zillow & Trulia: These giants love video content and their algorithms often reward listings that include it. Upload your video directly to the listing to give it a nice bump in visibility and keep potential buyers engaged.
- Your Own Website: Don't forget your home base. Embedding the video on the property's dedicated landing page is a fantastic way to keep visitors on your site longer. This is a great signal for SEO and gives you a better shot at capturing their information.
Pro Tip: A great video tour can significantly boost the time a user spends on your Zillow listing. The platform sees that engagement as a sign of quality content, which can help your listing rank higher in local search results.
A Smarter Social Media Strategy
Once your main listings are updated, it's time to put social media to work. This is where you can build your brand and reach a wider audience who might not be actively searching... yet.
On social media, think short and punchy. You might want to create a quick, 30 to 60-second highlight reel from your full video, designed specifically for platforms like Instagram or Facebook. Lead with the money shot—the gorgeous kitchen, the killer view, or the amazing curb appeal—to instantly stop people from scrolling.
When you post, your caption matters. Don't just list the specs. Tell a small story or ask a question to spark a little imagination. Something like, "Can you picture yourself enjoying a morning coffee on this beautiful patio?" works wonders. Use a mix of broad hashtags like #RealEstate and hyper-local ones like #[YourCity]HomesForSale to attract both general interest and serious local buyers.
The Drone Footage Difference
Want to really make your video pop and get people talking? Add some aerial shots. The use of drone technology has completely changed the game for property marketing. In fact, a whopping 80% of active listing agents now use drone photography and videography.
The results speak for themselves. Properties with these slick, professional walkthroughs often see a 20-30% reduction in their time on the market. It just provides a sense of scale and context that you can't get from the ground. You can see the full impact of these real estate video statistics for yourself. Even a short drone clip at the beginning or end of your video adds a massive dose of professionalism and wow-factor.
Common Questions About Creating Video Walkthroughs
Diving into AI video for your listings is exciting, but it's natural to have a few questions. I've heard these come up time and again from agents, so let's clear the air and get you creating with confidence.
Think about the time savings here. A video walkthrough real estate tour built from photos is a massive efficiency boost. In the old days, it was all about in-person showings. Now, a great virtual tour can cut down on those initial, time-consuming visits by as much as 49%. That’s more time you can spend building real relationships with serious clients. The impact of video is huge, and if you want to see just how much it's changing the game, check out these insights on real estate video trends.
How Many Photos Do I Need for a Good Video?
The magic number is usually between 15 and 25 high-quality photos. This gives you enough material for a solid 60 to 90-second video, with each image getting about 3-4 seconds of screen time for that smooth, cinematic feel.
Remember, it’s all about quality over quantity. A carefully chosen set of photos that walks a buyer through the home—from the front door to the backyard—tells a much better story than just dumping 50 random shots into the editor.
Pro Tip: Aim for 60 to 120 seconds for platforms like Zillow or your own website. If you're creating an Instagram Reel or a TikTok, chop it down to a punchier version under 60 seconds to keep people watching.
Can I Really Use My Smartphone Photos?
Absolutely. The camera in your pocket is more than powerful enough for the job. As long as your photos are sharp, well-lit, and high-resolution, they'll look fantastic in your video walkthrough.
Just follow a few simple best practices for great results:
- Always shoot in landscape (horizontal) mode. It just fits video formats better.
- Give your lens a quick wipe before you start. You'd be amazed how much of a difference this makes.
- Turn on your phone's grid lines. They're a lifesaver for keeping your shots level and professional.
Do I Need to Buy Expensive Editing Software?
Nope, not at all. That’s the best part of this whole workflow—it's incredibly straightforward. Most AI video tools, like AgentPulse, come with simple, built-in editors that let you add the important stuff like your logo, some text, and background music.
If you find yourself wanting a bit more creative flair, free and user-friendly apps like CapCut or Canva are perfect for adding those final branded touches. And for music? The YouTube Audio Library is a fantastic source for high-quality, royalty-free tracks so you never have to worry about copyright strikes.
Ready to turn your listing photos into scroll-stopping videos in minutes? Try AgentPulse today and see how easy it is to create a professional video walkthrough for your next property. Get started now at https://www.agentpulse.ai.