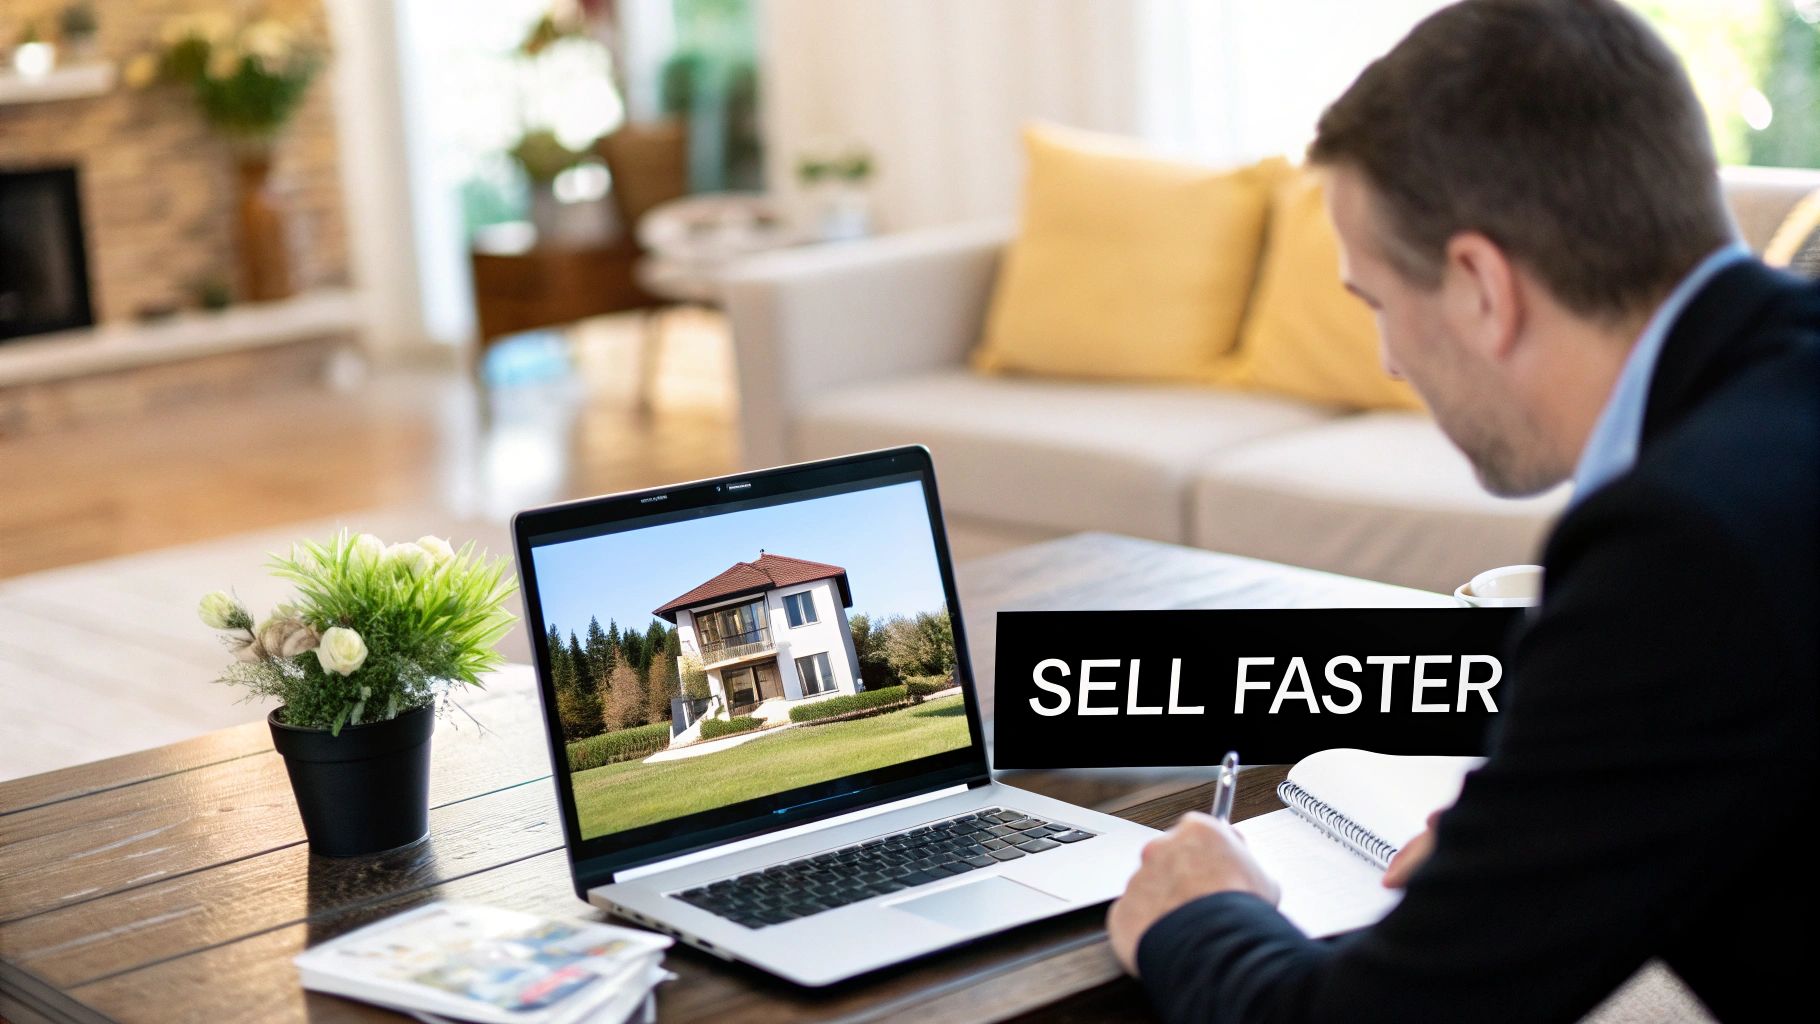
In today's fast-paced market, a top-notch real estate video editor isn't just a nice-to-have for luxury agents anymore—they're a core part of any winning marketing plan. Buyers scroll through listings in the blink of an eye, and nothing stops that scroll and creates a genuine connection quite like a professionally crafted video.
Why Great Video Editing Sells Homes Faster
Still photos can show you what a room looks like, but a well-edited video tells its story. It takes a folder of images and clips and weaves them into a cinematic tour, letting potential buyers mentally walk through the front door right from their couch. This is about so much more than just a slow pan across the kitchen; it's about selling a lifestyle.
An experienced real estate video editor knows exactly how to build that story. They use pacing, music, and seamless transitions to craft a specific mood—maybe it's the high-energy vibe of a downtown loft or the quiet, peaceful feel of a suburban family home. The real goal is to make viewers feel something, to let them picture their own lives unfolding in that space.
The Numbers Don't Lie
The data on this is crystal clear. Listings with video don't just get more clicks; they get more qualified leads. In fact, properties marketed with video pull in a staggering 403% more inquiries than those without. This massive boost in interest often helps homes sell up to 31% faster.
Yet, surprisingly, about 62% of agents still aren't using video in their marketing. That leaves a huge opening for you to stand out. You can dig into more of the data in these real estate video statistics.
The advantage isn't just about traffic, either. A polished video boosts the perceived value of the property and, just as importantly, your brand as an agent. It shows sellers you're serious about quality marketing and gives buyers confidence.
A great video doesn’t just showcase a property; it sells a dream. It moves beyond square footage and finishes, focusing instead on the feeling of home.
It's So Much More Than a Slideshow
A good editor’s job is to make sure your video never, ever looks like a generic, automated slideshow. They bring their craft to the table by:
- Creating Dynamic Motion: They'll add subtle zooms, pans, and parallax effects to your still photos, breathing life into them.
- Enhancing Visuals: Proper color correction is a game-changer. It can make a space feel brighter, warmer, and far more inviting than the original image.
- Setting the Tone: They carefully select licensed music that matches the home’s character, creating an atmosphere that draws people in.
Putting your budget toward quality video editing is a direct investment in a faster sale, often for a better price. It's how you cut through the noise online and give your listings the competitive edge they deserve.
Crafting Your Video Story Before You Edit
The best videos are made long before you ever touch an editing app. I’ve seen it time and time again: agents jump straight into a video editor without a plan, and the result feels chaotic. It’s like trying to build a house without a blueprint. You might end up with something, but it won’t be the masterpiece you had in mind.
The secret is to think like a director first, an editor second.
Your job isn't just to show a house; it's to tell its story. Every property has a unique vibe. Is it a sleek, modern condo perfect for a young professional, or a sprawling suburban home where a family can put down roots? Your video needs to capture that specific character to help buyers form an emotional connection.
Don't just show rooms—show the lifestyle. A shot of a sun-drenched breakfast nook isn't just about the space; it’s about slow Sunday mornings with a cup of coffee. That's how you turn a simple listing video into marketing that actually resonates.
Building Your Shot List
Your shot list is your best friend in this process. Seriously. It’s a simple checklist of every single shot you need, and it guarantees you tell a complete story instead of ending up with a jumble of random clips.
Start by outlining the video's flow, almost like you're walking a potential buyer through the home for the first time.
- The Exterior: Kick things off with a powerful opening shot. Think a smooth approach to the front door or a stunning aerial view that places the home in its neighborhood context.
- The Entry: What’s the first thing someone feels when they walk in? Capture that "wow" moment from the entryway and the initial view that greets them.
- Key Living Areas: Move logically through the main spaces—the living room, kitchen, and dining area. Get those wide shots to show the layout, but don’t forget to zoom in on the details, like premium finishes or high-end appliances.
- Lifestyle Details: The little things are what sell a home. A cozy fireplace, custom built-in shelving, or the incredible view from the master bedroom window. These are the details that add personality and charm.
Think of your shot list as the bridge between your vision and the final video. It ensures every clip has a purpose, which makes the editing process infinitely smoother and more creative.
Planning the Narrative Arc
Every great video has a beginning, a middle, and an end. Your opening needs to grab the viewer's attention immediately. The middle is your chance to showcase the home's absolute best features. And the ending? That’s where you leave a lasting impression with a clear call to action.
If you want to dive deeper into structuring your videos for maximum impact, you can learn more about creating compelling real estate videos in our detailed guide.
When you take the time to plan your story and shot list beforehand, you’re giving your video editor—whether it's an AI tool or yourself—the perfect ingredients to cook up something truly special.
Your Practical Video Editing Workflow
Okay, you've got your story mapped out and a solid shot list. Now for the fun part: bringing it all together. A streamlined editing workflow is your secret weapon for creating polished, professional-looking real estate videos without getting lost in the technical weeds. The goal here is to build a repeatable process that saves you time and delivers amazing results every single time.
First things first: get organized. Before you even open your editing software, create a dedicated folder for the project. Inside, make subfolders for your video clips, photos, logos, and music. This might seem like a small step, but trust me, it’s a lifesaver that prevents a chaotic mess later on. A clean project is a happy project.
Assembling Your Timeline
Think of your timeline as your digital storyboard. Start by dragging in your main "A-roll" clips—these are the core shots that walk viewers through the property. Lay them out in the order you planned, moving from that beautiful exterior shot to the kitchen, living room, and so on. Don’t get hung up on perfection just yet; just get the basic flow down.
Once the main sequence is in place, you can start tightening things up. Trim the excess from the beginning and end of each clip. This is where you really start to shape the pace and make sure every second is working to highlight the home’s best assets.
The infographic below really nails down the pre-editing process, breaking it down into the three pillars of any great property video.
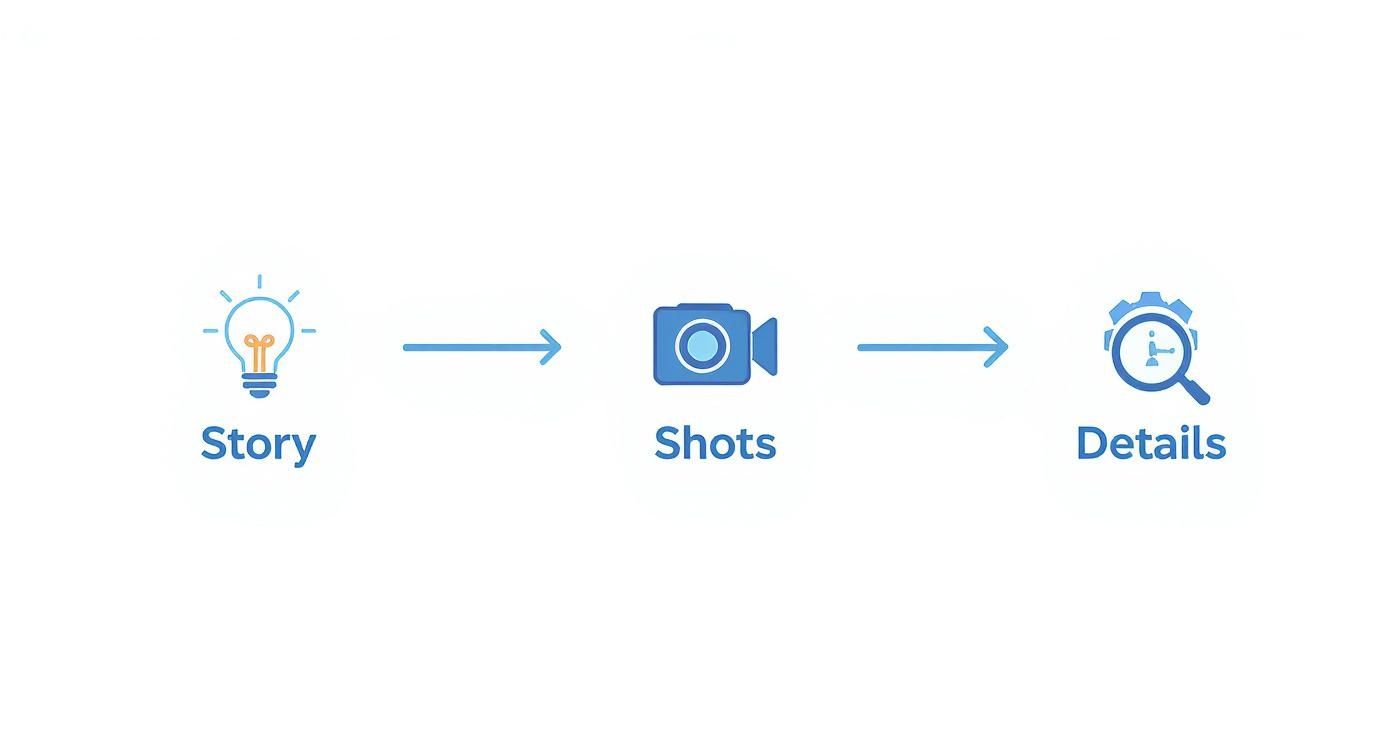
As you can see, a powerful video is built on a great Story, supported by a well-planned list of Shots, and made perfect by focusing on the Details.
Polishing with Motion, Color, and Sound
With the basic structure set, it's time to add the magic. These are the layers of polish that make a video look and feel truly professional, not like something slapped together. I always focus on three key areas:
- Motion and Transitions: If you're using still photos, you have to add some life to them. A subtle, slow zoom or a gentle pan can make a world of difference. For transitions between video clips, keep it simple. A clean cross-dissolve is almost always the right choice—it guides the viewer smoothly from one room to the next without any jarring or cheesy effects.
- Color Correction and Grading: Consistency is key. You want every clip to feel like it belongs in the same video. Tweak the colors to make them pop and feel true-to-life. I often add a touch of warmth and brightness to interior shots to make the home feel extra inviting.
- Music and Audio: The right music sets the entire mood. Find a licensed track that matches the home’s vibe—maybe something upbeat for a modern downtown condo, or something more elegant and orchestral for a classic family home. Make sure you adjust the audio levels so the music supports the visuals without being distracting.
The best editing is invisible. The goal isn't to show off your editing skills; it's to make the home the undeniable star of the show.
Today’s buyers want more than just a slideshow. They’re looking for emotionally engaging videos that tell the story of a home and the lifestyle it offers. This is why we're seeing a huge shift towards cinematic walkthroughs, AI-assisted editing tools, and vertical videos perfectly formatted for social media. If you want to dive deeper, you can explore more about these current real estate video trends.
Adding Final Touches and Exporting
You're almost there! The last step is to add your branding. This usually means a professional-looking intro with your logo and contact info, and maybe a subtle watermark in the corner. Always end with a clear call to action (CTA). Something like "Schedule Your Private Tour Today" along with your website or phone number works perfectly.
When you're ready to export, you need to think about where this video is going to live. A high-quality 1080p or 4K MP4 file is your best bet for the MLS, YouTube, and your website. But don't forget about social media! You'll need to create vertical versions, typically in a 9:16 aspect ratio, to make sure your video fills the screen on phones and grabs attention.
Video Export Settings for Key Real Estate Platforms
Exporting with the wrong settings can ruin all your hard work. Use this quick-reference guide to ensure your videos look perfect on the most important real estate marketing channels.
| Platform | Recommended Resolution | Aspect Ratio | File Format |
|---|---|---|---|
| MLS/Zillow | 1920x1080 (1080p) | 16:9 | MP4 |
| YouTube | 3840x2160 (4K) or 1080p | 16:9 | MP4 |
| Facebook/Instagram Feed | 1080x1080 (Square) | 1:1 | MP4 |
| Instagram/Facebook Reels | 1080x1920 (Vertical) | 9:16 | MP4 |
| TikTok | 1080x1920 (Vertical) | 9:16 | MP4 |
Having a cheat sheet like this handy will save you a ton of headaches. Once you've got this streamlined workflow down, you'll be able to pump out stunning, effective videos for every single one of your listings.
Getting Your Video Seen: A Guide to Maximum Reach
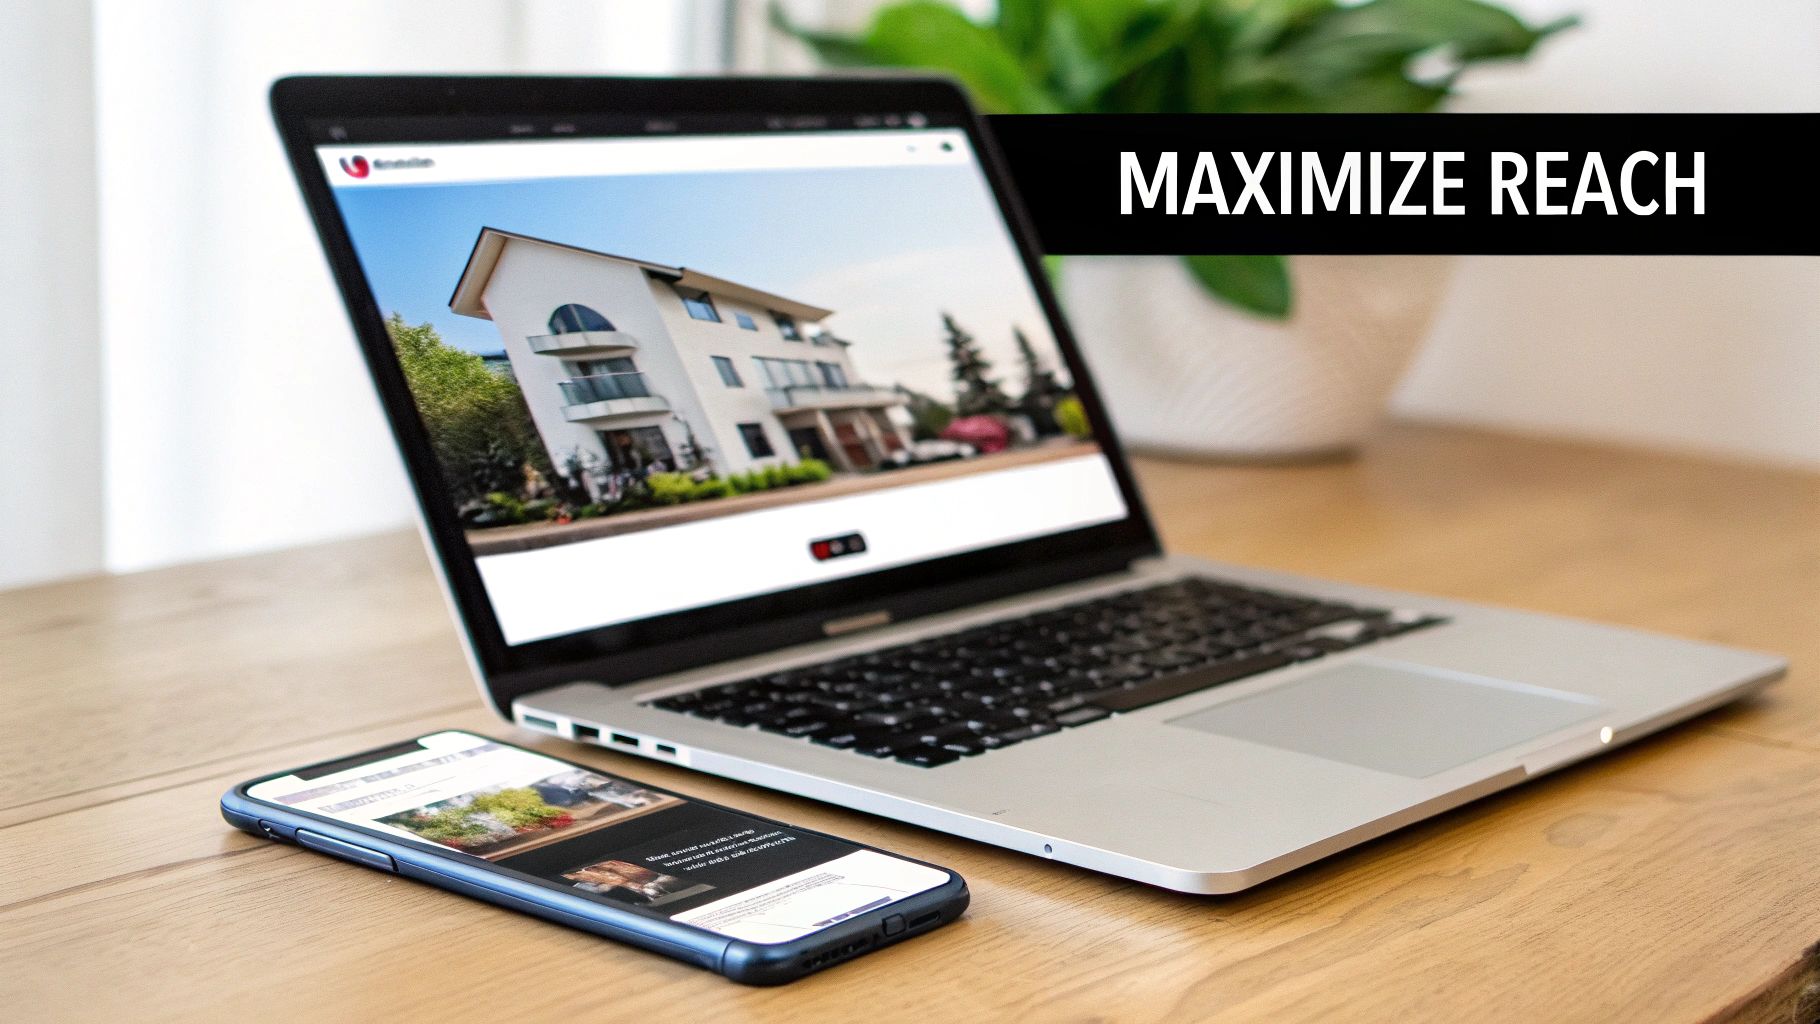
Creating a gorgeous video is a huge accomplishment, but it’s really only half the job. The other half? Making sure the right people actually see it. Your work isn't done until that video is tweaked and polished to perform everywhere—from the MLS and Zillow to Instagram Reels and Facebook ads. It’s all about thinking like a marketer to cut through the noise.
You have about three seconds. That's it. In that tiny window, you need to give people a compelling reason to stop scrolling. Always lead with your absolute best shot. It could be a stunning aerial view of the property, a close-up of a unique architectural detail, or a shot of that perfectly staged, sun-drenched kitchen. For social media, that initial hook is everything.
Titles and Descriptions That Actually Get Clicks
Once you've hooked them, the title and description have to do the heavy lifting. Put yourself in a buyer's shoes—what words would they be typing into a search bar? Don't just settle for the property address.
Use descriptive, search-friendly language that sells the dream. For example, instead of a bland "Tour of 123 Main Street," try something like, "Luxury Modern Farmhouse with a Pool | Cinematic Tour in Anytown."
In the description, lay out the essentials right away:
- The Basics: List the beds, baths, and square footage at the very top. No one should have to hunt for this.
- The Sizzle: Mention the standout features. Think "fully renovated chef's kitchen," "private backyard oasis," or "steps from downtown."
- The Contact: Make it incredibly easy for an interested buyer to reach the listing agent.
This isn't just about SEO for YouTube or Zillow; it's about giving potential buyers the key info they crave instantly. If you want to dive deeper, our complete guide to real estate video marketing is packed with more strategies like this.
Don't Forget the Call to Action
You can't leave viewers hanging at the end. Every single video needs a strong Call to Action (CTA) that tells people exactly what to do next.
Don’t just show the home; tell people how to make it theirs. A simple, direct CTA can be the difference between a casual view and a qualified lead.
Keep your CTA clear and direct. Simple phrases like "Schedule Your Private Tour Today" or "See More Photos on Our Website" are perfect. Make sure this text is displayed clearly on-screen for the last few seconds, right alongside the agent's name, number, and website. It’s a small step that bridges the gap between someone just watching and someone actually taking action.
The impact of video is undeniable. For instance, listings that include aerial drone footage have been shown to sell, on average, 68% faster than homes without it. And property videos can boost traffic to a listing's website by a staggering 157%. These are serious numbers that prove video isn't just a nice-to-have anymore. You can see more compelling data in these real estate video statistics.
Finally, get the most out of every project. A savvy editor knows that one main video is a goldmine of content. Slice it up! Create short, vertical clips of the best rooms for Instagram Reels, a square-formatted version for a Facebook post, or even a GIF of that kitchen reveal for an email blast. This "content recycling" mindset ensures you squeeze every last drop of value and reach from a single video shoot.
Pricing Your Real Estate Video Services
Figuring out how to price your video editing work can feel like a guessing game at first. But turning your skills into a real business comes down to one thing: packaging your value in a way that agents immediately understand. The trick is to stop thinking in hourly rates and start thinking in project-based packages.
This approach makes life easier for everyone. Agents know exactly what they’re getting for their money, and you get paid for the polished final product, not just the time you spend in the editing chair. It’s a win-win.
https://www.youtube.com/embed/YhnvZPVv9jc
Building Your Service Tiers
The best way to present your pricing is through tiered packages. This gives agents a few clear options to choose from, depending on their budget and the type of property they’re listing. It simplifies your sales process and removes any confusion about what’s included.
Here’s a common structure that works really well, scaling from a no-frills option to a full-service, premium offering.
The Essentials ($70 - $150): This is your foot-in-the-door package. Think of it as the clean and simple solution. It should cover a standard walkthrough video, maybe up to 2 minutes, with clean cuts, basic color correction, and a nice, licensed music track. It’s the perfect fit for most standard homes.
The Standard ($200 - $300): This will likely be your bestseller. It includes everything from the basic tier but adds more polish. We're talking smoother, more cinematic transitions, more detailed color grading to give the footage that warm, inviting feel, and adding the agent's branding, like their logo and contact info.
The Premium ($300+): Reserve this for the luxury listings that need to make a statement. You’ll throw in everything from the standard package, plus the heavy hitters: seamlessly integrating drone footage, adding animated text overlays to call out high-end features, and promising a faster turnaround time. This is where you deliver maximum impact.
When you define your packages this clearly, you’re not just selling a video. You're selling a predictable, professional marketing asset. That kind of clarity builds trust and positions you as a go-to partner, not just a one-off editor.
Nailing Down a Simple Client Workflow
Your process is just as important as your pricing. A smooth, repeatable workflow shows you're a pro, respects the agent's time, and ensures nothing ever slips through the cracks. It's what keeps clients coming back.
Break your process down into a few key steps:
- Kick-off & File Collection: The moment an agent says "go," send them a simple intake form or a link to a shared folder. This is where you'll collect all the raw video clips, photos, logos, and any specific notes or requests they have.
- First Draft Delivery: Once you have a solid first version, send it over for review. Be sure to mention how many rounds of revisions are included in their package—this little detail manages expectations right from the start.
- Feedback & Revisions: This is the collaborative part. Make their requested tweaks quickly and keep the communication lines open. A quick turnaround on edits always impresses.
- Final Delivery: After they give the final thumbs-up, deliver all the video files they could possibly need. That means a high-res version for YouTube and the MLS, plus a square or vertical cut that’s ready for Instagram and Facebook.
A simple, organized system like this makes the whole experience feel effortless for the agent. And when you make their job easier, they’ll not only hire you again but will be eager to refer you to others.
Frequently Asked Questions About Real Estate Video
Even when you've got your workflow down pat, questions will pop up. As a real estate video editor, you're always tweaking your process for new platforms and different client requests. Let's dig into some of the most common questions I hear from other editors.
The number one question is always, "What's the best software?" The honest answer? There isn't one. It really boils down to your budget, your skills, and how much time you want to spend editing.
If you're just getting started, user-friendly tools like CapCut or even Canva's video features are fantastic. They let you create clean, professional-looking videos without a massive learning curve.
For those who crave more creative control and pro-level features, the conversation usually shifts to Adobe Premiere Pro and DaVinci Resolve. These are the powerhouses. They offer everything from Hollywood-grade color correction to intricate audio mixing, giving you the tools to craft truly cinematic property tours. It's all about finding what works for you and your workflow.
How Long Should My Real Estate Videos Be?
This is the other big one, and my answer is always the same: "It depends on where you're posting it." People's attention spans are completely different from one platform to the next. You can't just make one video and hope it works everywhere.
Here’s my go-to guide for video length:
- For MLS & YouTube: I recommend aiming for 2-3 minutes. Think of this as your main event, the full-length feature. It's long enough to give a comprehensive tour and highlight all the best features without your audience starting to drift off.
- For Social Media (Reels, TikTok, Shorts): You've got to be quick. Stick to 30-60 seconds, max. These platforms are built for fast, high-impact content. You need to hook someone in the first three seconds and get straight to the good stuff.
The real trick is to match the content to the context. A longer, more detailed video is perfect for someone already interested on a listing page. A short, snappy clip is what you need to stop someone from scrolling on Instagram.
Where Can I Find Good Music for My Videos?
Whatever you do, don't just grab a popular song off the radio. That's the fastest way to get a copyright strike and have your video muted or taken down. It's crucial to use licensed, royalty-free music.
Luckily, getting great music is easier than ever. Services like Epidemic Sound and Artlist are my personal favorites. They have enormous libraries of incredible tracks that are cleared for commercial use, so you never have to worry about the legal stuff. Many video editors also come with their own built-in music libraries.
For more deep dives and industry tips, you can always check out the latest articles on the AgentPulse blog.
Ready to create stunning real estate videos in minutes, without touching complex software? AgentPulse uses AI to automatically turn your property photos into cinematic, scroll-stopping videos. Get started for free today and see just how easy it is to make your listings stand out.